Why Your Homemade Cookies Are Flat (And The Simple Fixes That Guarantee Perfect, Puffy Results Every Time)
You’ve spent time carefully measuring, mixing, and scooping, envisioning a tray of beautifully golden, puffy, and slightly chewy cookies. Instead, what emerges from your oven is a sad, flat disc, spread thin and crispy on the edges, a shadow of its potential. Sound familiar? I’ve been there more times than I care to admit. For years, my quest for the perfect chocolate chip cookie ended in disappointment, with batches that looked more like edible frisbees than the plump, inviting treats promised by countless recipes.
It’s a common culinary frustration, and many home bakers assume it’s an inevitable outcome, or worse, that they’re just not ‘good’ at baking. But in my experience, the problem isn’t a lack of baking prowess; it’s often a few critical, yet easily overlooked, missteps that collectively sabotage your cookies’ structure. What changed everything for me wasn’t finding a ‘secret’ ingredient or a magical technique, but rather understanding the science behind why cookies flatten and how to proactively prevent it. Once you grasp these fundamental principles, you won’t just follow a recipe; you’ll understand it, allowing you to troubleshoot and achieve bakery-quality results every single time.
Key Takeaways
- Ensure your butter is softened, not melted, and your sugar-butter creaming process incorporates sufficient air.
- Use cold dough and bake on cool baking sheets to slow spread and allow cookies to set.
- Precisely measure your flour and leavening agents; too little flour or inactive leaveners lead to excessive spreading.
- Understand your oven’s true temperature and avoid overcrowding the baking sheet for even heat distribution.
The Butter Paradox: Softened, Not Melted, is Key
When a recipe calls for ‘softened butter,’ it’s not just a suggestion; it’s a foundational instruction for cookie structure. The mistake I see most often, and one I made for years, is using butter that is either too cold, leading to dense cookies, or, far more commonly for flat cookies, butter that is partially melted or too warm. When butter melts prematurely, it releases its water content, which rapidly evaporates in the oven, causing the cookies to spread out before the flour has a chance to set their structure. This is often the primary culprit behind those tell-tale thin, crispy edges.
What actually works is butter that’s truly softened, meaning it should yield slightly when pressed with a finger but still hold its shape. This typically means taking it out of the refrigerator 30-60 minutes before you start baking, depending on your kitchen temperature. For instance, if your kitchen is 70°F, 30 minutes is usually enough. If it’s 65°F, you might need an hour. A good test: it should be around 65-67°F internally. This temperature allows the butter to cream effectively with sugar, incorporating tiny pockets of air that expand during baking. These air pockets are what give your cookies lift and a tender crumb. If your butter is too warm, these air pockets collapse, and your cookies lose their structural integrity before they even hit the oven. I once rushed a batch by microwaving butter for ‘softening’ and ended up with butter soup and pancake-flat cookies. The difference between properly softened and even slightly melted butter is monumental for cookie architecture.
The Chilling Truth: Cold Dough Prevents Premature Spread
Many recipes suggest chilling cookie dough, and many home bakers skip this step, myself included in my early days, thinking it’s an optional time-saver. This is a critical error if you want thick cookies. Warm cookie dough, especially after being handled and scooped, has butter that is already quite soft. When this soft dough hits a hot oven, the butter melts almost instantly, causing the cookies to spread rapidly before the flour and eggs have a chance to solidify and create structure.
What truly works is chilling your dough for at least 30 minutes, or ideally, several hours (up to 24-48 hours for enhanced flavor and texture). I often scoop my dough onto baking sheets, then pop the entire sheet into the fridge for 20-30 minutes before baking the first batch. This strategy serves two crucial purposes: first, it solidifies the butter in the dough, delaying its melt time in the oven. This gives the leavening agents more time to produce gas and create lift, and the protein in the flour more time to set, resulting in a thicker cookie. Second, it allows the flour to fully hydrate, leading to a more tender and often more flavorful cookie. In my kitchen, after experimenting, I’ve found that a minimum 30-minute chill makes a noticeable difference, transforming flat cookies into plump, satisfying ones. For example, a recent batch of snickerdoodles went from 1/4 inch thick to a full 1/2 inch thick just by chilling the dough for an hour.
The Leavening & Flour Finesse: Ratios Matter More Than You Think
Cookie recipes are a delicate balance of ingredients, and the ratio of fat to flour, along with the freshness of your leavening agents (baking soda and baking powder), plays a monumental role in preventing flat cookies. Too little flour, or an imbalance of leavening, can quickly turn your ambitious cookie aspirations into flat reality.
What actually works is precise measurement of your flour, ideally by weight (a kitchen scale is an investment that pays dividends for baking accuracy), and ensuring your leavening agents are active. For example, a mere tablespoon too little flour in a standard batch can be the difference between a puffy and a flat cookie. Flour provides the structural backbone. Without enough of it, the fat in the butter simply spreads out unchecked. Furthermore, baking soda reacts with acidic ingredients (like brown sugar or buttermilk) to produce carbon dioxide, while baking powder has a double action, reacting both when wet and when exposed to heat. If your leavening agents are old (baking soda lasts about 6 months, baking powder about a year once opened), they won’t produce enough gas to give your cookies lift, leading to a flatter result. I always test my baking soda by adding a pinch to vinegar; if it bubbles vigorously, it’s good. For baking powder, a pinch in hot water should produce foam. If not, it’s time for a fresh container. Using fresh, accurately measured leavening and flour is non-negotiable for consistent, well-structured cookies.
The Oven’s True Temperament & Baking Sheet Strategy
Many bakers blame their ovens when cookies come out flat, and while oven calibration can certainly be a factor, it’s often compounded by how we use our baking sheets and manage heat. Baking on a hot or warm baking sheet, or overcrowding the sheet, are common mistakes that accelerate spreading and compromise cookie structure.
What truly works is ensuring your oven is preheated to the correct temperature, which might differ from what your dial says. An inexpensive oven thermometer is a game-changer; I discovered my oven ran 25°F cooler than indicated, requiring an adjustment to prevent excessive spreading due to longer bake times. More importantly, always bake on cool baking sheets. Placing scooped dough onto a warm sheet immediately starts melting the butter, again, before the cookie has a chance to set. This causes rapid, uncontrolled spreading. I achieve this by having at least two, preferably three, baking sheets on hand. While one batch bakes, the others are cooling down, ready for the next set of chilled dough. I also avoid overcrowding the sheet. Giving each cookie ample space (at least 2 inches apart) ensures even heat circulation around each cookie, promoting uniform baking and reducing the chance of them fusing together or cooking unevenly. In my kitchen, I typically bake no more than 6-8 cookies per standard half-sheet pan to ensure optimal results. This seemingly small detail has a massive impact on preventing flat, underbaked centers and over-crispy edges.
Frequently Asked Questions
Q: Can using the wrong type of sugar affect cookie spread?
A: Yes, absolutely. Brown sugar, with its higher moisture content and slight acidity, tends to make cookies chewier and slightly thicker. Granulated sugar, being dryer, encourages more spreading and a crispier texture. A good recipe balances these for desired results. If your cookies are consistently flat, and your recipe uses a high ratio of granulated sugar, you might experience more spread.
Q: Does the type of flour make a difference?
A: While less impactful than other factors, yes. All-purpose flour is standard, but using cake flour (lower protein) can sometimes lead to more delicate, flatter cookies, while bread flour (higher protein) can result in chewier, slightly denser ones. Stick to the flour type specified in the recipe. Also, always spoon and level your flour, or better yet, weigh it, as scooping directly from the bag can add up to 25% more flour than intended, altering the fat-to-flour ratio.
Q: My cookies are still flat even after trying these tips. What else could it be?
A: Double-check your leavening agents are fresh. Also, consider the fat content of your butter; high-quality butter with less water content tends to perform better. The ratio of fat to dry ingredients is paramount. If a recipe consistently yields flat cookies, it might be an inherently ‘flatter’ cookie recipe, or it might need a slight adjustment, like adding an extra tablespoon or two of flour per cup, to increase its structural integrity.
Q: Can egg temperature affect cookie spread?
A: Yes. While not as critical as butter temperature, eggs should ideally be at room temperature. Cold eggs don’t emulsify as well with creamed butter and sugar, leading to a less homogeneous batter and potentially impacting texture. If you forget to take them out, place them in a bowl of warm (not hot) water for 5-10 minutes.
Q: What about high altitude baking? Do these tips still apply?
A: High altitude baking is a unique challenge because atmospheric pressure is lower, causing gases to expand more rapidly. This means your cookies might spread more and collapse, becoming even flatter. At high altitudes, you often need to reduce leavening agents slightly, increase liquid, and sometimes slightly increase flour or egg to provide more structure. The tips here are still foundational, but you may need additional high-altitude adjustments specific to your location.
The Journey to Puffy Perfection
Achieving that ideal, perfectly puffed cookie isn’t just about following a recipe word-for-word; it’s about understanding the subtle science behind each ingredient and technique. I spent years frustrated by my flat cookies, thinking it was just my lot in life as a home baker. But by intentionally addressing the butter temperature, chilling the dough, accurately measuring my flour and leavening, and optimizing my oven and baking sheet strategy, my cookies transformed. They went from thin, crispy disappointments to thick, chewy, and consistently perfect treats. It’s these small, intentional shifts in technique that make all the difference, empowering you to not just bake, but to master your cookie game. So, next time you’re baking, remember these simple fixes. Your perfectly puffy cookies are just a few thoughtful adjustments away.
Written by Marcus Thorne
Home organization and mindful living
A design consultant who applies principles of efficiency and user experience to daily life challenges.
You Might Also Like
Why Your Homemade Sauces Are Too Thin and Lackluster (And The Pro Secrets for Rich, Velvety Perfection Every Time)
Ever wonder why your homemade sauces lack depth and body? Discover the pro secrets to achieve rich, velvety perfection every time.
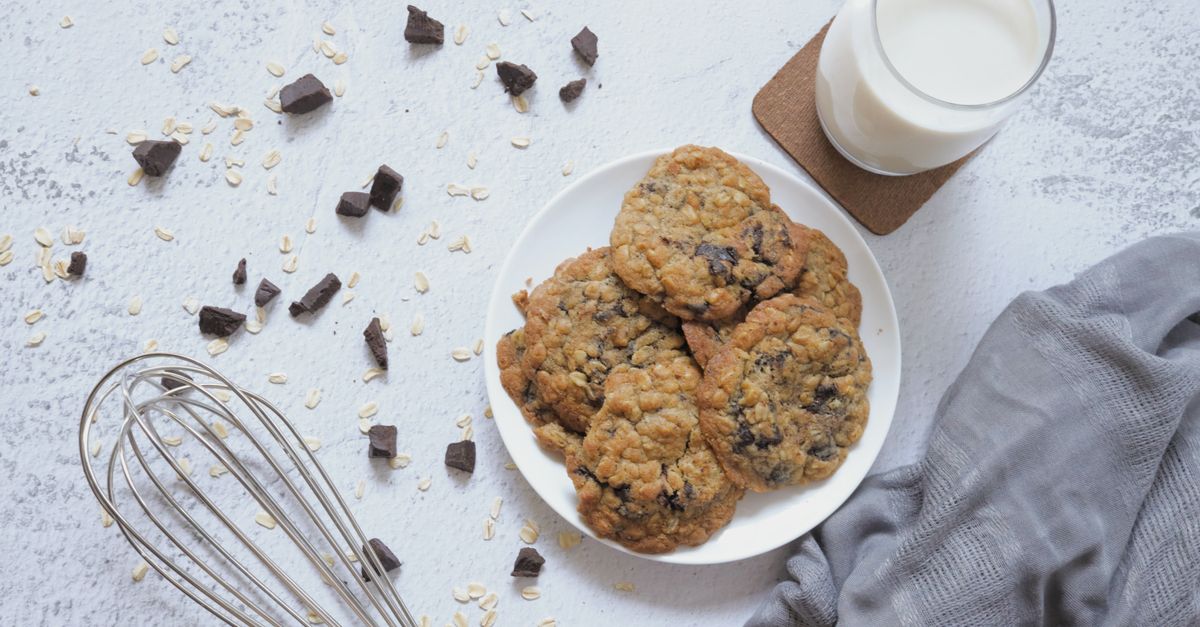
Why Your Homemade Cookies Are Flat (And The Simple Fixes That Guarantee Perfect, Puffy Results Every Time)
Tired of flat, lifeless cookies? Discover the overlooked mistakes sabotaging your baking and get perfect, puffy cookies every time.
Why Most Budget Home Security Cameras Fail (And What Actually Works for Real Peace of Mind)
Budget home security cameras often disappoint. Discover why cheap options fail and the layered strategy that actually delivers peace of mind.